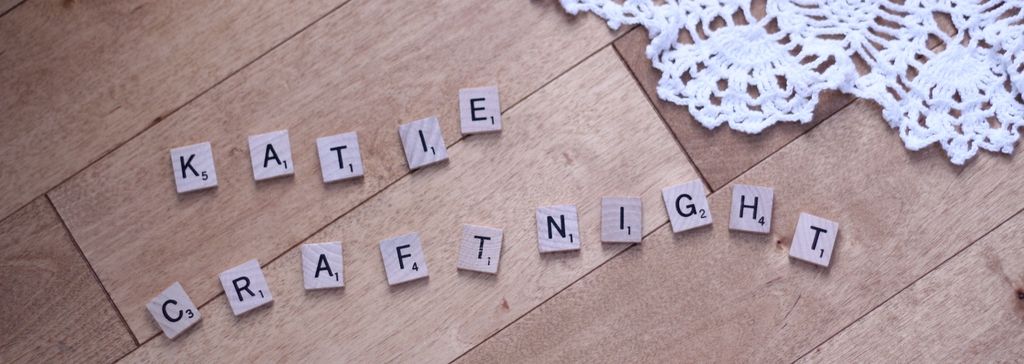
The house is currently silent. This morning we hosted Mason's birthday party, and I can't believe so much time has passed that he is already turning three. He partied and ate too much sugar all morning with friends and relatives and we were successfully able to get him to take a nap this afternoon, so I thought I would take a minute to show you a project I did a few days ago - one that gets back to my Craftnight roots.
This project is a direct result of me being a hoarder. It starts like this. I moved into this house just over four years ago. Prior to that, Byron and I lived in the townhouse I lived in when I was single. It was just after we got married (over 6 years ago) that we got our dog Minnie. And sometime when she was a puppy, she chewed up some throw pillows. Those pillows, until recently, were in my basement. WHO KEEPS CHEWED UP PILLOWS IN THEIR BASEMENT FOR SIX YEARS? Oh right, me, Katie, the hoarder.
So anyway, I came across these pillows recently, and thank the Lord I convinced myself to throw away the chewed up pillow covers. But the inserts...well I surely could find something to do with them, right? Spoiler alert: I did (see above).
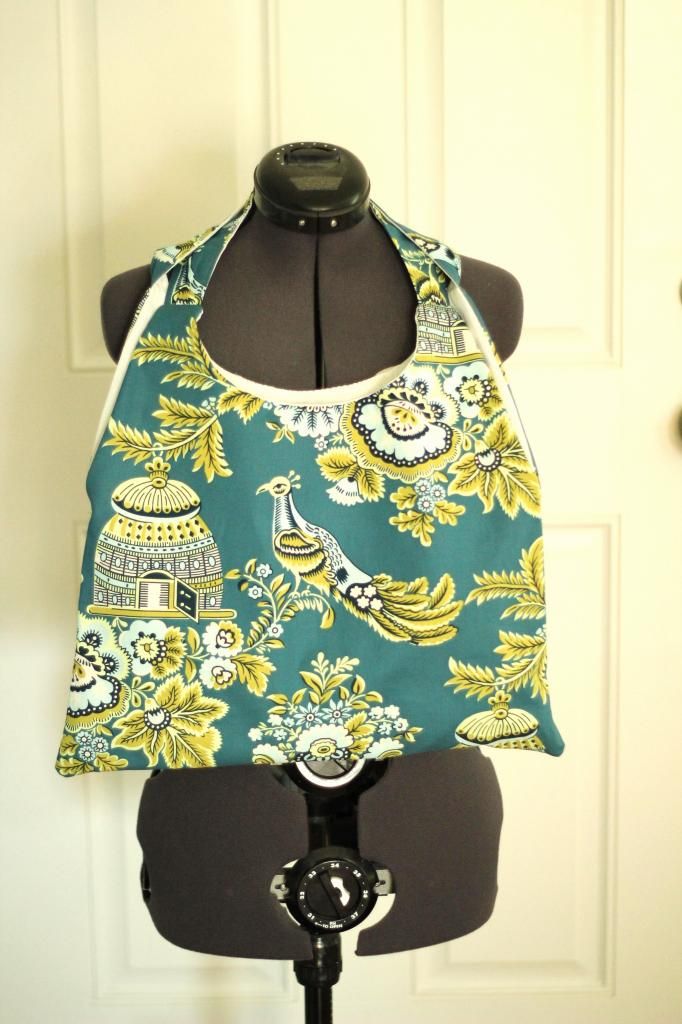
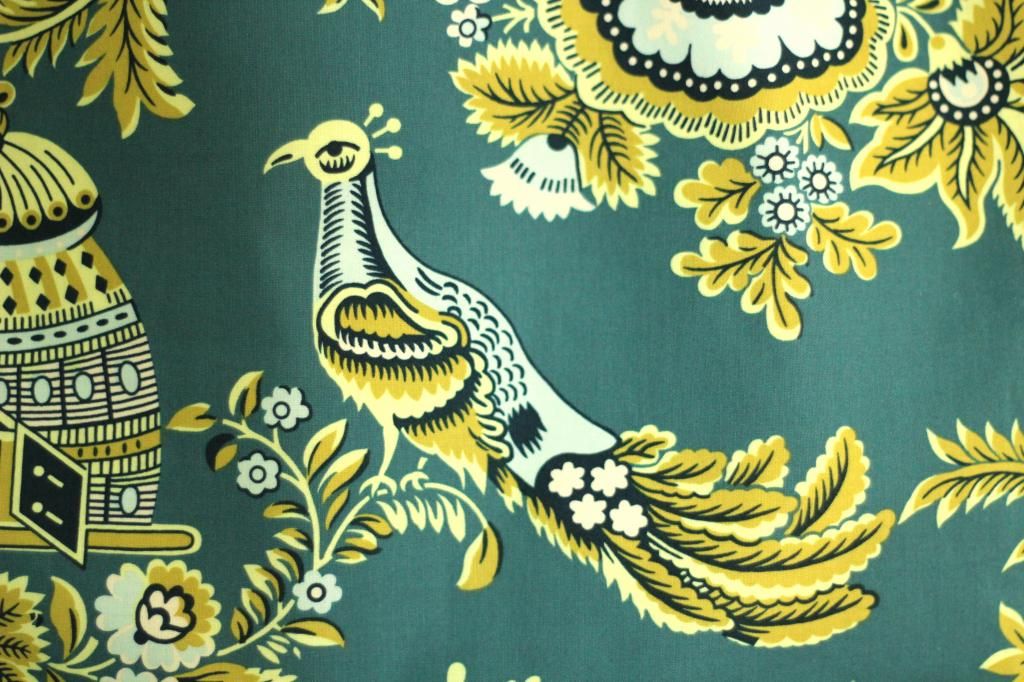
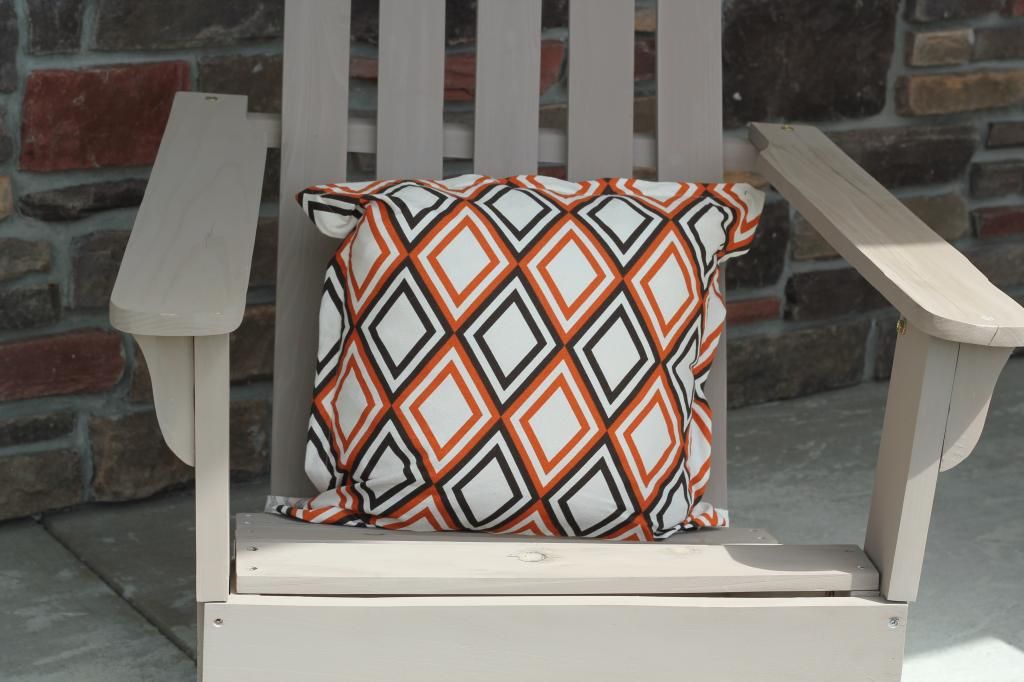
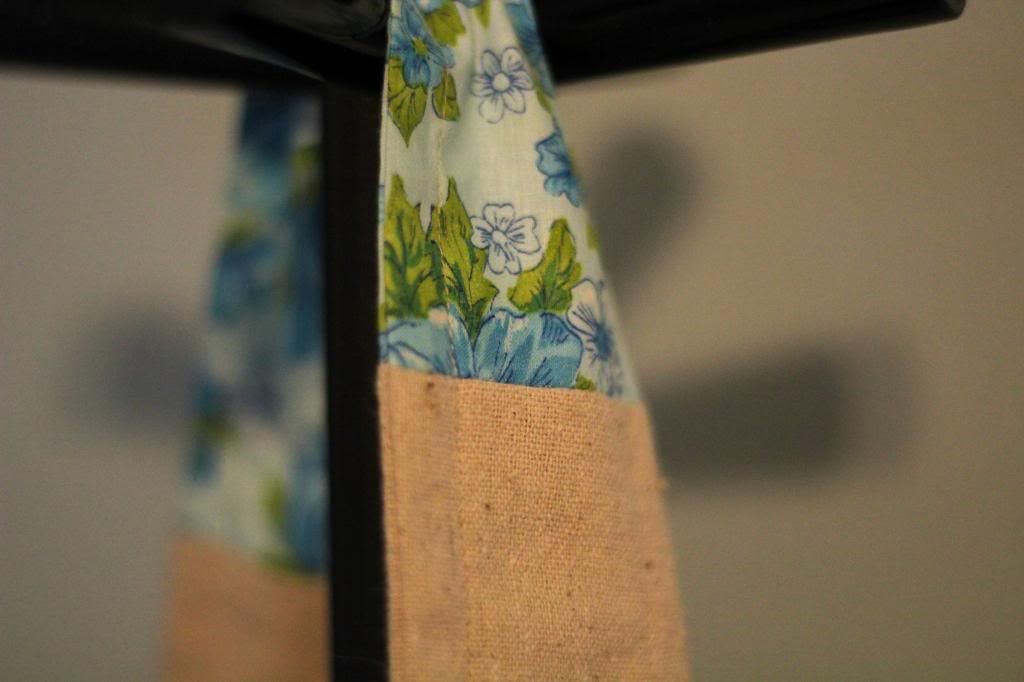
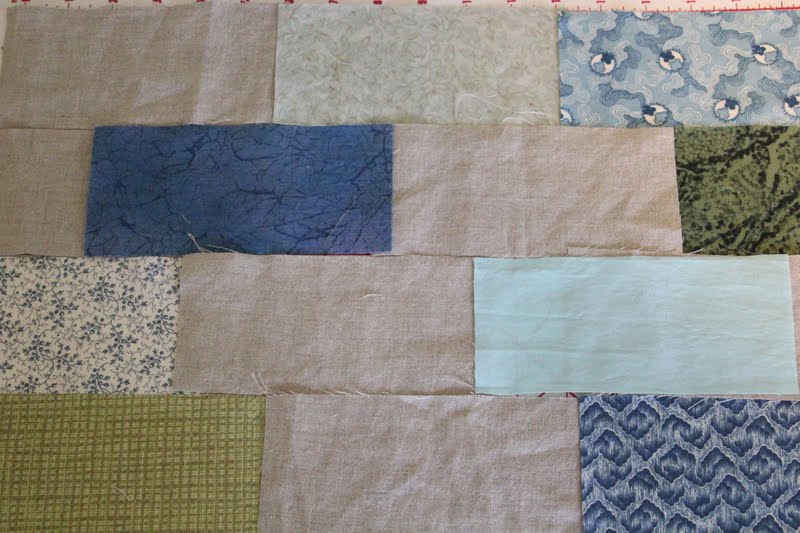
I spent the first year of Mason's life taking photos of him weekly, each time on a different background. This left me with a lot of fabric left over, just waiting for the right project to come along. Enter this fabric:
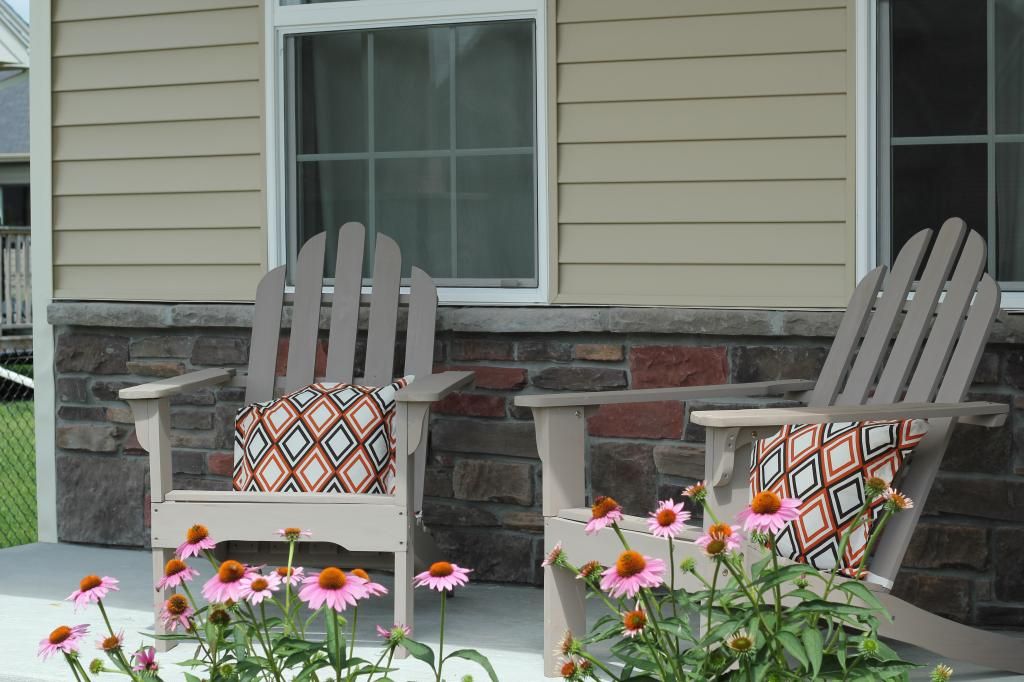
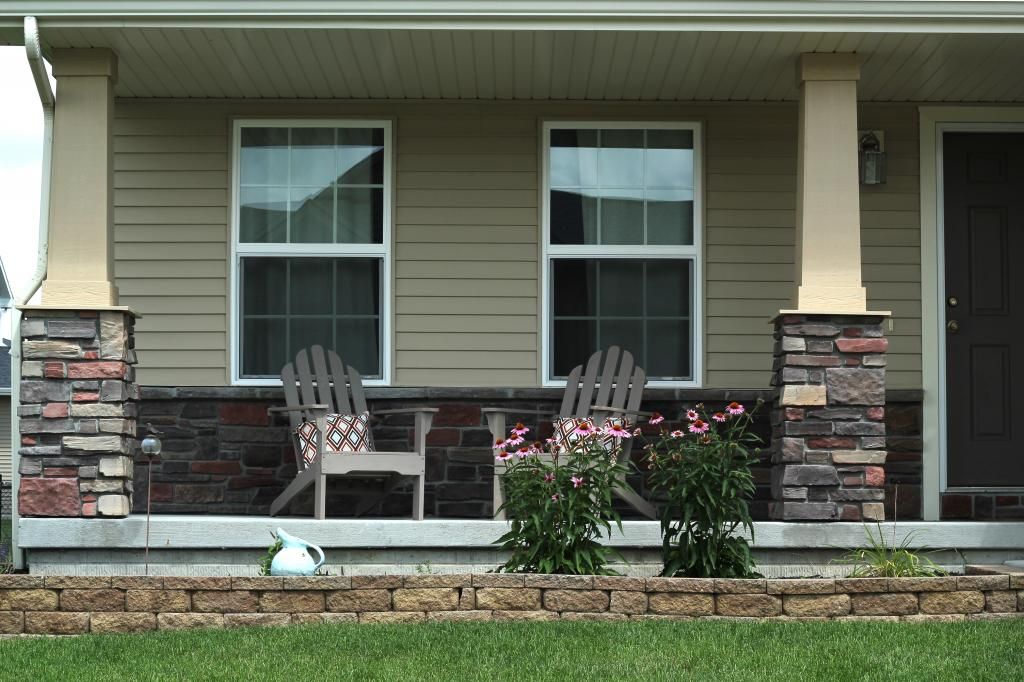
I cut that sucker up, sewed it into some new pillow covers, and voila! Enter style and softness to my front porch. Next time we want to take a sit on the porch (yes, another slightly inappropriate inside joke within my family) we'll be nice and comfy.