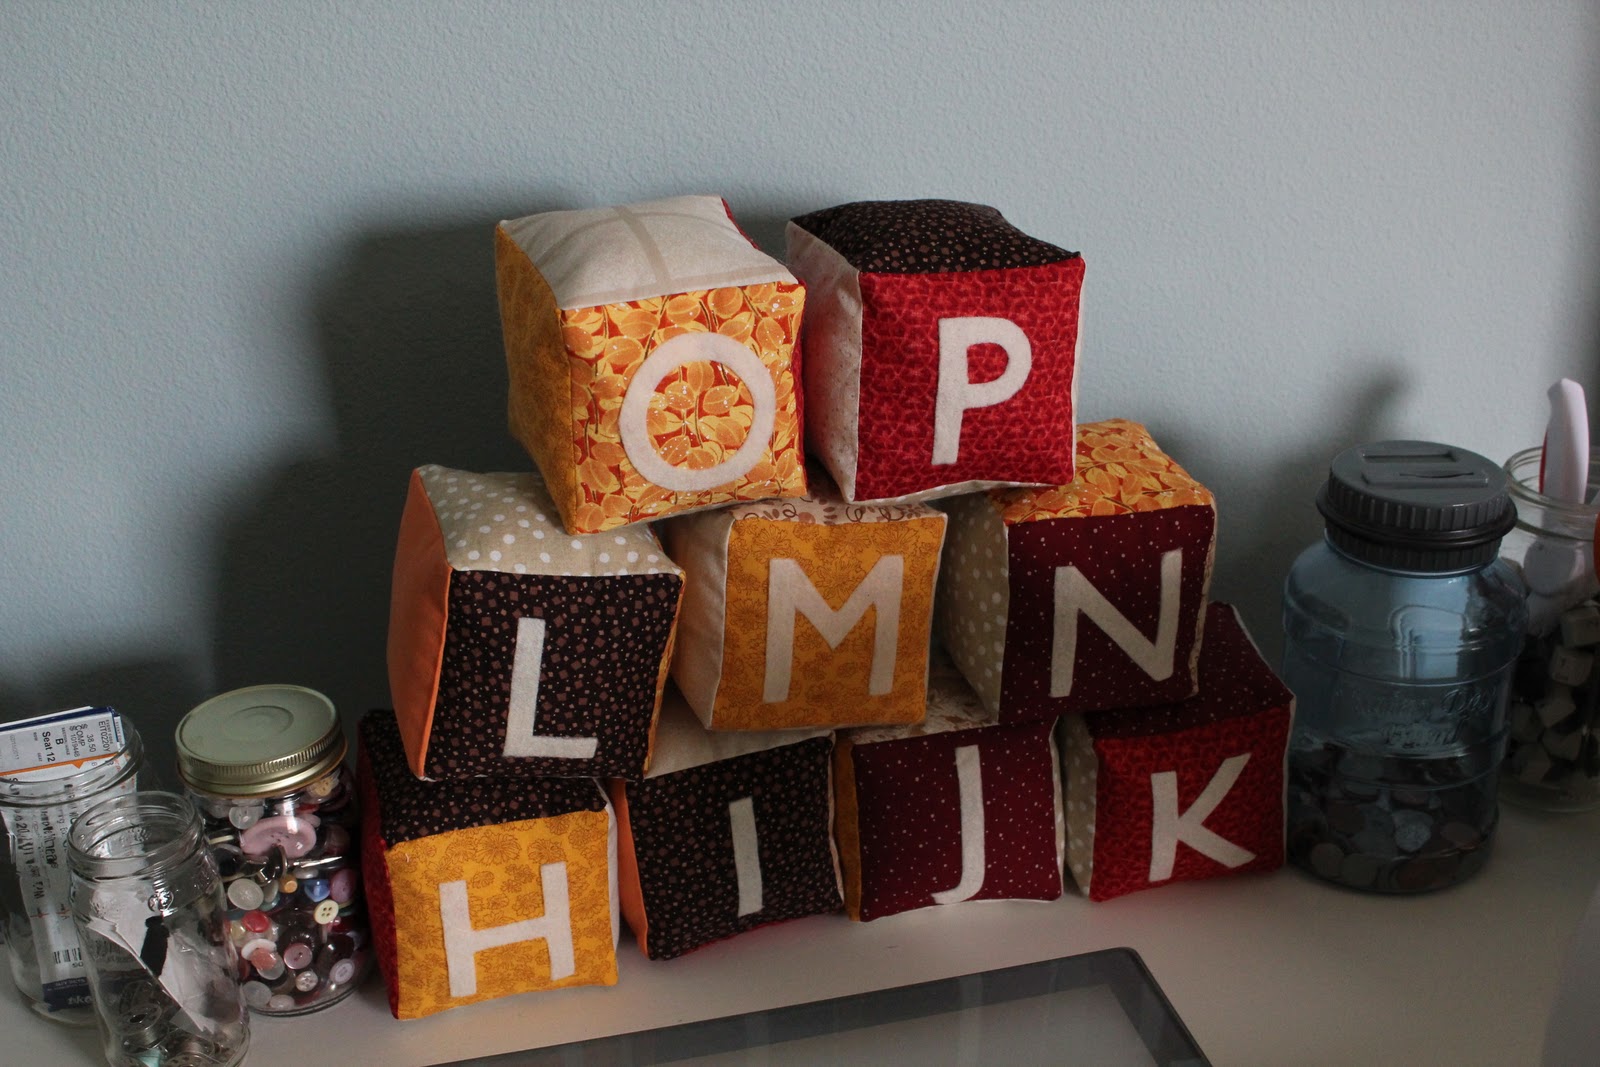
This could be a really long post, filled with tons of pictures, but I hope that in the end I can break down the process so that you can repeat this project.
1. Cut out squares. If you are doing the entire alphabet, you will need to cut out at least 156 squares. I say at least, because I went for a random pattern and used up fabric from my stash, I needed a few more squares so I didn't have repeats. The squares are 4" x 4", but you can size them however you want.
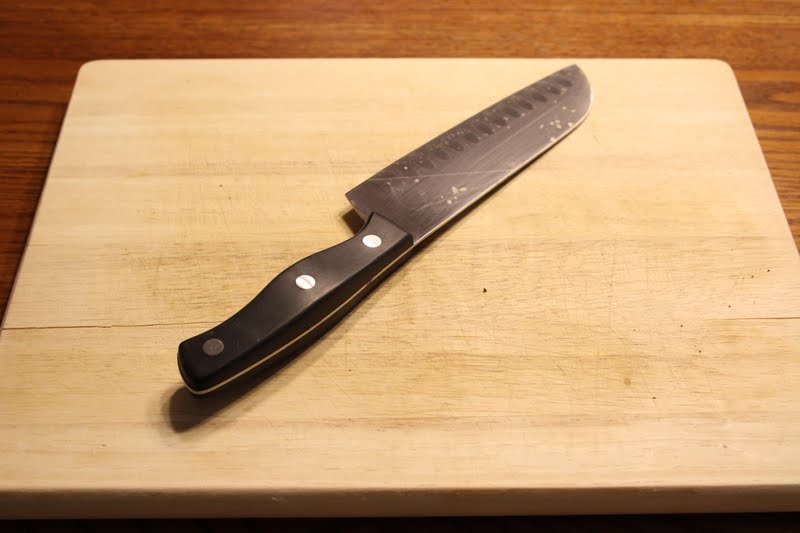
2. Cut out the letters. I used felt, so that I wouldn't have to treat the edges, and I affixed fusible interfacing to the back of the felt prior to cutting out the letters. I printed out the letters on my computer. You could use just about any font, but I would definitely recommend something simple.
3. Iron on the letters. Don't forget to peel the paper backing off the fusible interfacing. I may have done that the first time I used it.
4. Sew the four squares together that will make up the sides. When you do this, leave a 1/4" seam allowance (or just smaller). Also, leave a 1/4" gap of unsewn material at each end of the seam. This will make it easier when it comes to turning corners when sewing on the top and the bottom. Remember to iron open all your seams.
5. Pin on the top. I used two pins per side, and I angled the direction of the pin toward the center of the square, again, making the corners easier. I started with the top piece so that the hand sewn seam would end up on the bottom. That is not a requirement, but in my opinion, it makes it look nicer. Sew all around the top, leaving a 1/4" seam, and overlapping your starting and stopping points. I also like to remove the pins as I go instead of trying to sew over them. That is up to you.
This is a close up of how I did the corners. If possible, I tried to stop exactly between the folds, then pivot the whole thing. Most of the time I just got as close as I could.
6. Pin on the bottom, just like the top, and sew. The difference here is that you will leave an opening so that you can turn the block, stuff it, and hand sew it closed. The opening should be about an inch wide.
7. Turn the block inside out through the opening.
8. Push out the corners. I just used my fingers.
9. Fill the block with stuffing, then hand sew it closed. And...done!
Repeat this process 25 more times. This is where I am going to share a couple of personal thoughts. The entire alphabet, when you are as busy as I am, is a big undertaking. That is why it took me several months to complete. If you have tons of time, are more dedicated than me, have no time table, etc., then this is a great project for you. If you don't, I might suggest choosing a word, like a baby's name. It will take you way less time. However, in the spirit of not wanting to be totally negative, I also want to say I am really proud of myself for doing this project without instructions, and I am extremely pleased with the outcome. I'm sure there may be similar projects out there, but I didn't reference them. And in the end, I think it is a really cute gift. And the blocks will be PERFECT for throwing, especially for those out of control baby hands. I think I am even crazy enough to try another set for myself.