Fun with Crayons
A while back, I had pinned this image on my pinterest board.
So last night, I tried it. I found a white shadowbox frame that was 10" x 10", so I started by making a stencil that was approximately 8" x 8". I had originally printed some letters out on the computer, but in the end, I just went with a really simple M shape. Hmmm...was that a hint?
I had also purchased a piece of white scrapbook paper that I used for my background. I traced the M onto the scrapbook paper and cut it to size.
I purchased two boxes of 24 crayons, but in the end I picked up a third, mostly because there are so many oranges and blues and I wanted my colors to be more varied.
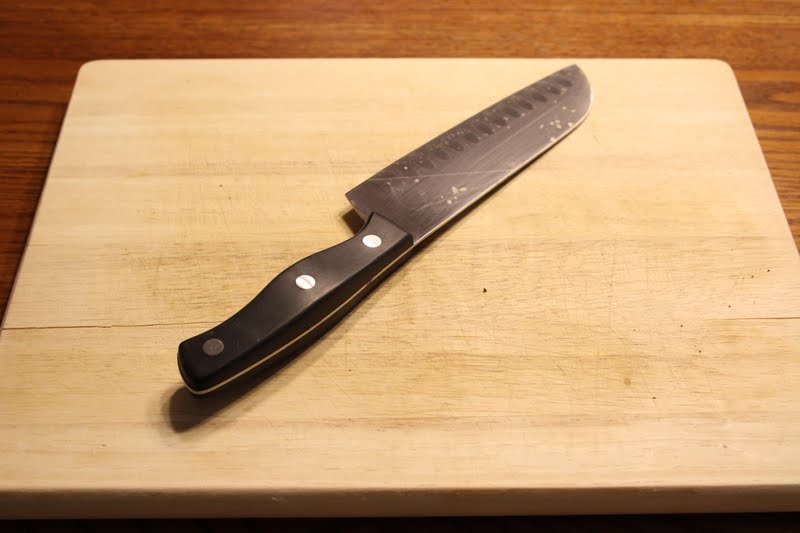
Before I started gluing, I needed to figure out how I would break my crayons to size. I finally decided on using a cutting board and a knife. Maybe not the best use of my kitchen utensils, but it worked great for this project!
The last thing I did before starting was that I actually had my inspiration picture pulled up on my laptop so I could refer back to it.
Now that I had my art station set up, it was time to get started. I loosely measured how big my crayon pieces should be, cut them to size, and then used rubber cement to attach them. I used rubber cement because it was the first thing I found around the house that would work, but I'm sure there are lots of other adhesives that would work. I would be nervous about hot glue, but maybe I'm the only messy one out there that gets glue stringies everywhere. I'll show you the next parts of the process visually.


8 comments:
SO cute! Perfect for a kid or craft room.
I love this idea! I think I'll do something like this for my playroom.
Really cute idea! Love the varied colors. Great for a kids' playroom or heck, I'd put it in my kitchen!
Stopping by from YHL's Pinterest Challenge Link Up.
-Heather
So cute!! Wouldn't this be a cute teacher's gift?
Great job! I pinned this too. I may have to make it for the next challenge.
I have a collection of monograms and this is something I will have to try one day. Def. perfect for a kids room.
form2form.wordpress.com
I have a collection of monograms and this is something I will have to try one day. Def. perfect for a kids room.
form2form.wordpress.com
I made a "T" for my son Tobias. It is now hanging in his room and he loves it!
Post a Comment